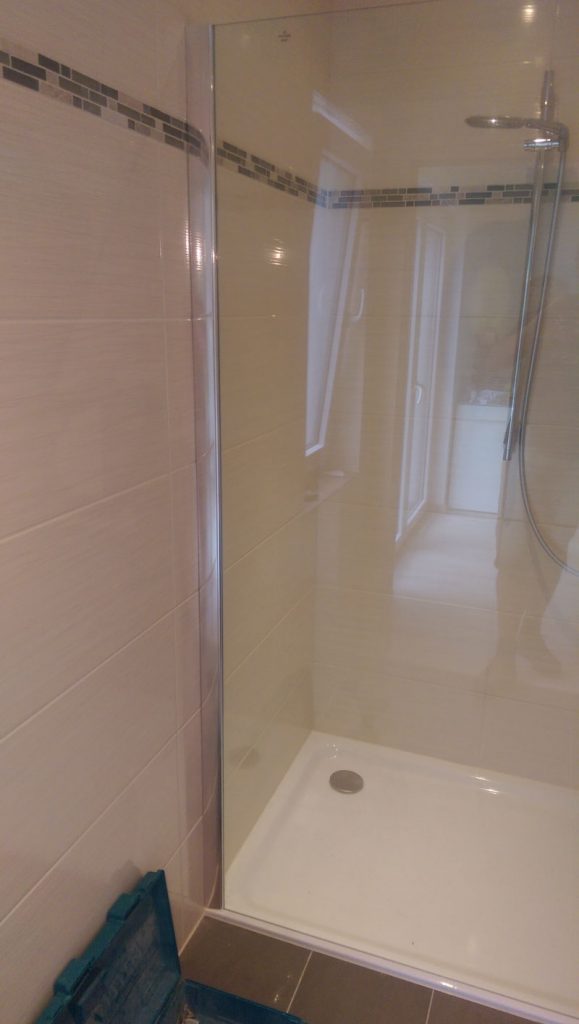
You are not sure whether you can install the shower wall on your own?
Here is the photographic proof: You don’t have to be an installer to install this shower wall!
In the bathroom or in the nearest room, prepare as much space as possible on the floor, on a double bed or similar for storing and unpacking the package.
If, in addition to installing shower enclosures, you need other services related to glass, you can contact the company.
Sort all small parts e.g. on a light towel next to the shower.
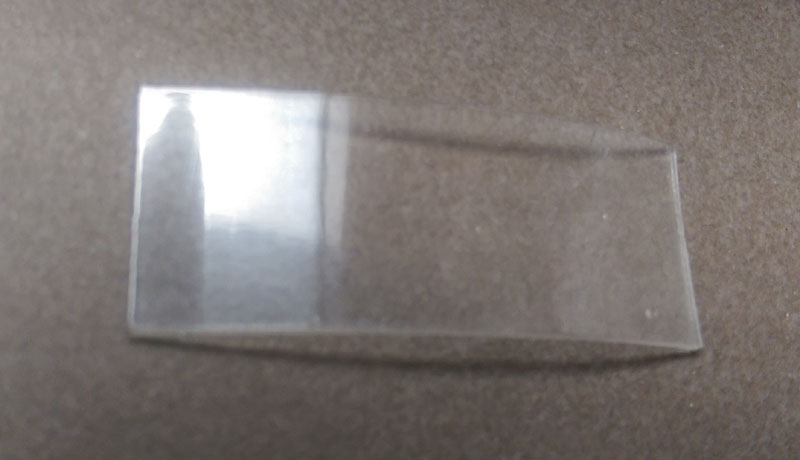
ATTENTION !
DO NOT dispose of this relatively inconspicuous because transparent piece of plastic! It is very important later!
You need for the assembly:
- a drilling machine with masonry drill for 6 mm and 8 mm holes
- a cordless screwdriver or a drill without impact
- a spirit level
- folding rule
- thin pencil
- screwdrivers
- pipe cutter or metal saw and metal file
- silicone (recommendation: in the colour of the shower tray, usually white)
- vacuum cleaner
- two strong people, you included! A third and fourth person may be necessary for transport to the bathroom.
Step 1
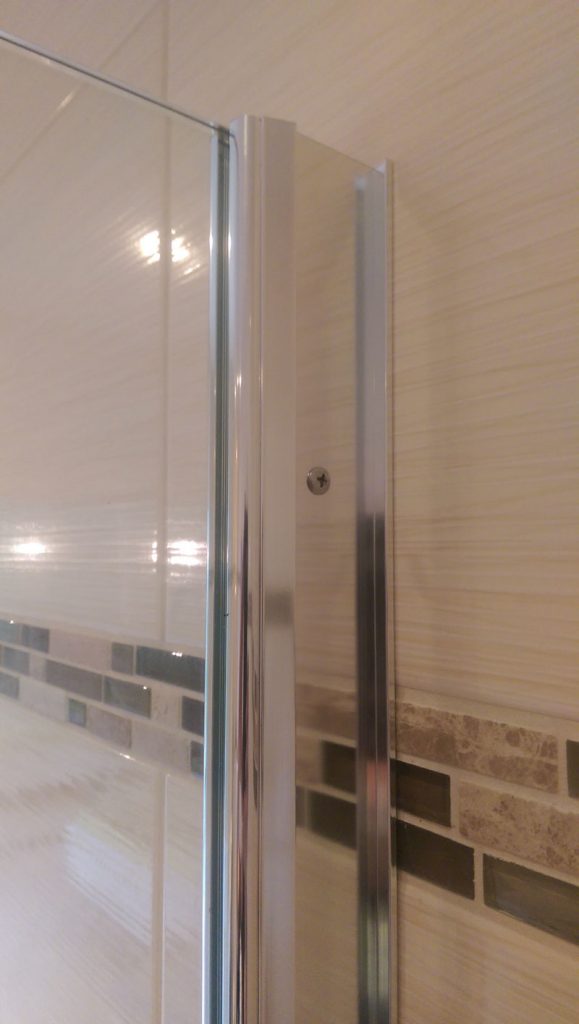
The 2 m long chrome-plated aluminium strip is first screwed to the wall. Screws and dowels are included in the package.
When positioning the aluminium strip, make sure that it is 5 to 10 mm from the edge of the shower tray.
When aligned and firmly screwed on, the shower wall is placed in front of the aluminium strip on the shower tray and then carefully pushed into the aluminium strip without scratching the shower tray.
The shower wall is already standing and can now be aligned parallel to the edge of the shower tray – either by eye or measured with a folding rule or other aids.
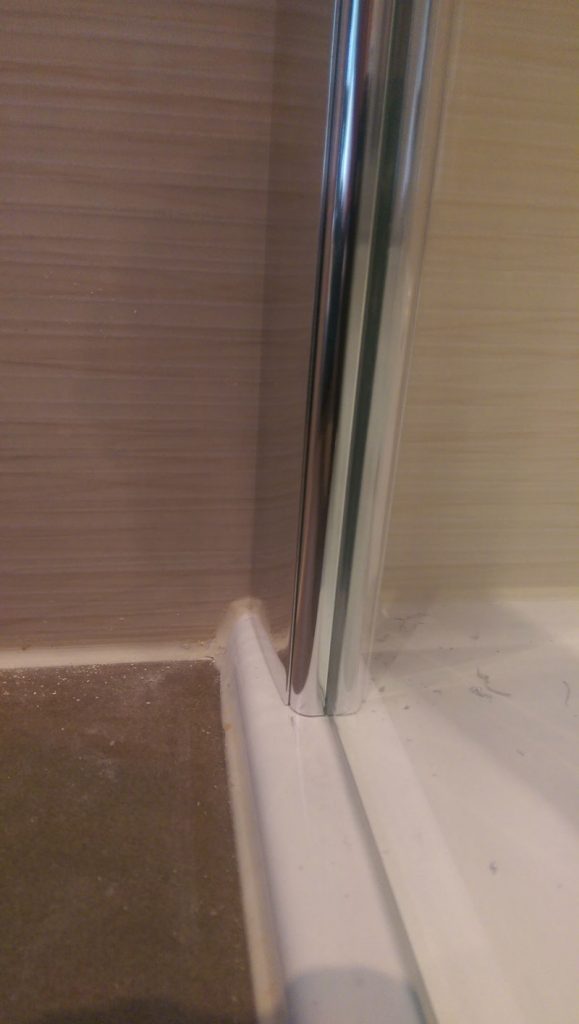
If the tiler has not worked perfectly:
Any unevenness in the wall or in the wall tiles is compensated by the aluminium strip, the pane stands straight at the end in the strip.
Visible gaps because of the unevenness in the wall tiles can be covered by a silicone seam.
On the photo here on the left everything is very good, here one could do without the silicone seam.
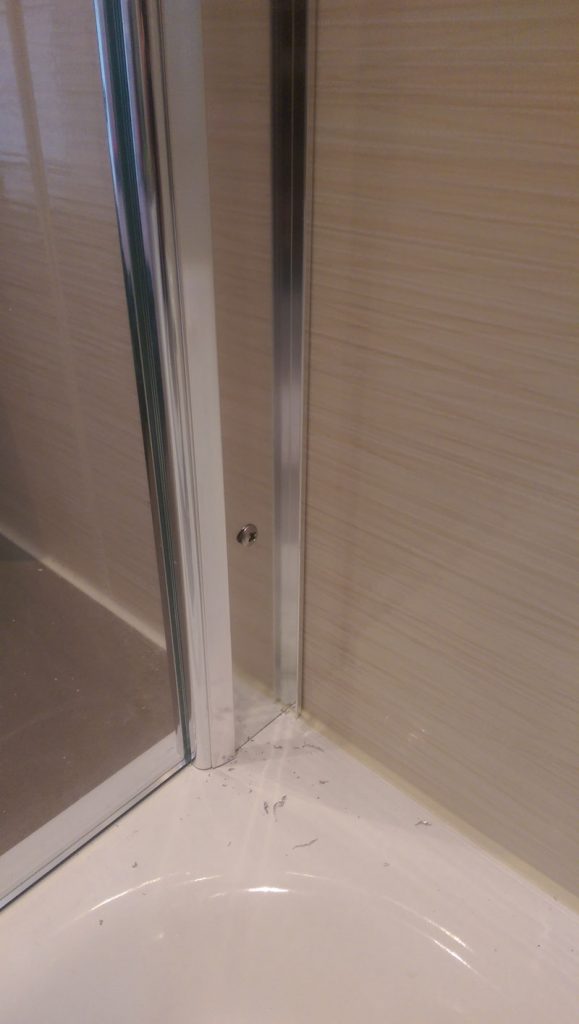
Inside, the aluminium strip screwed to the wall is pre-drilled twice:
With the metal drill included in the package and your cordless screwdriver, drill through the two pilot holes in the aluminium profile of the glass pane, then screw in the two short screws included.
This fixes the glass pane in the aluminium strip.
Please do not sweep away the aluminium chips produced during drilling, but carefully vacuum them off to avoid scratches in the shower tray.
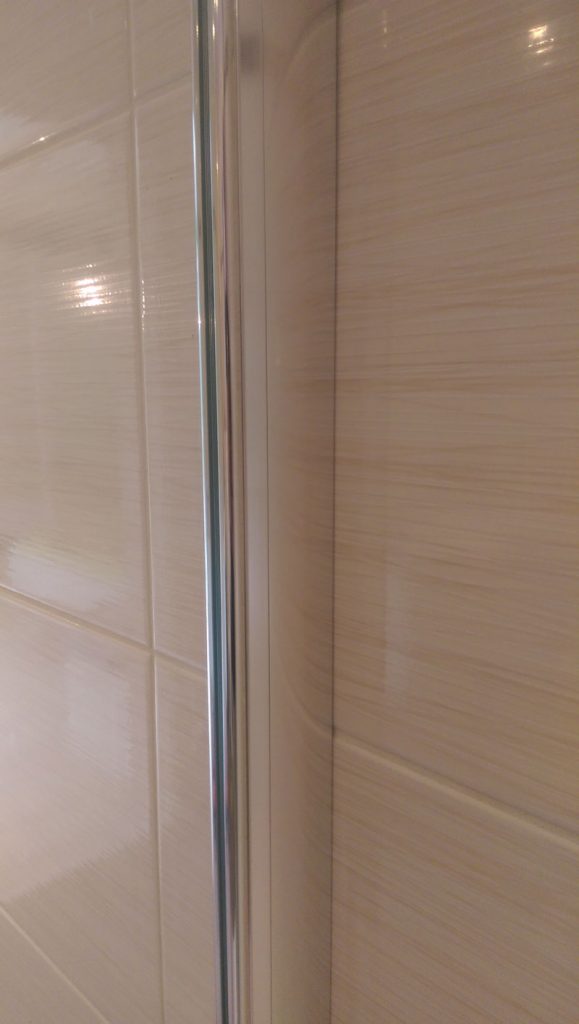
At the end of step 1, press the chrome-plated aluminium rail inside into the aluminium strip.
Tip: Place the aluminium rail in position and start approximately in the middle, but please do not use a rubber hammer or other striking tools, but only your hands or fingers.
When it clicks into place, push the rail downwards until the lowest part clicks into place with a clear sound. Then do the same from the middle upwards.
2nd step
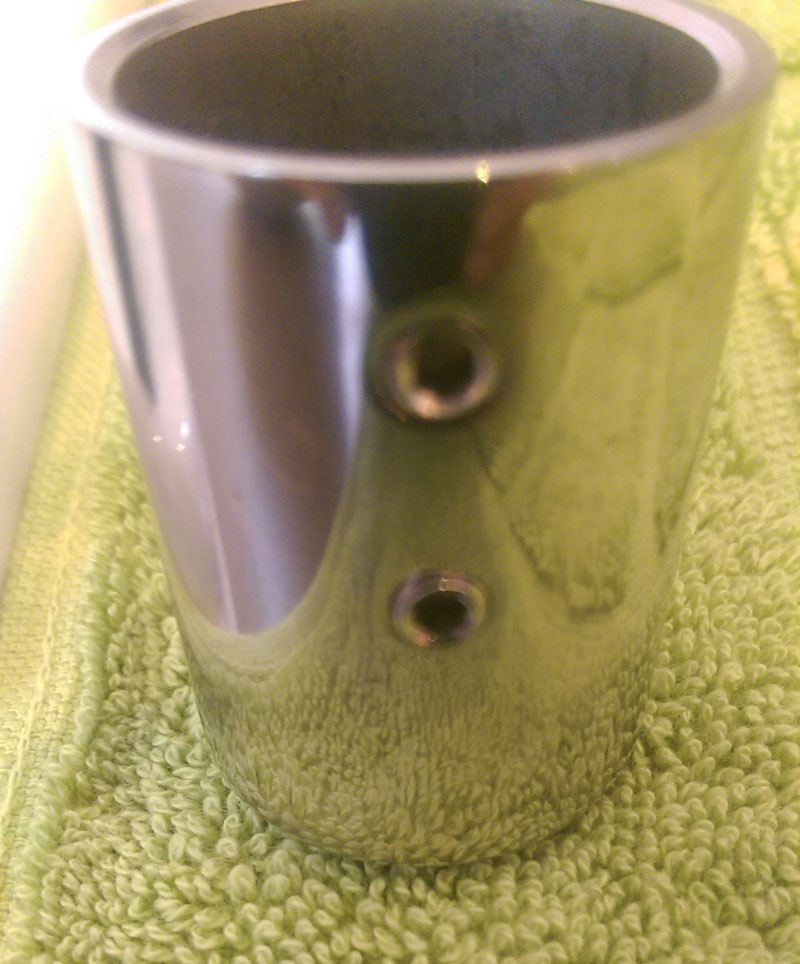
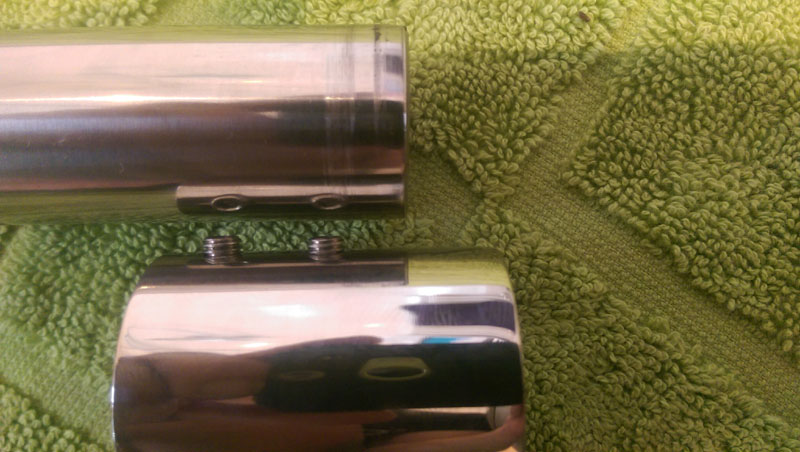
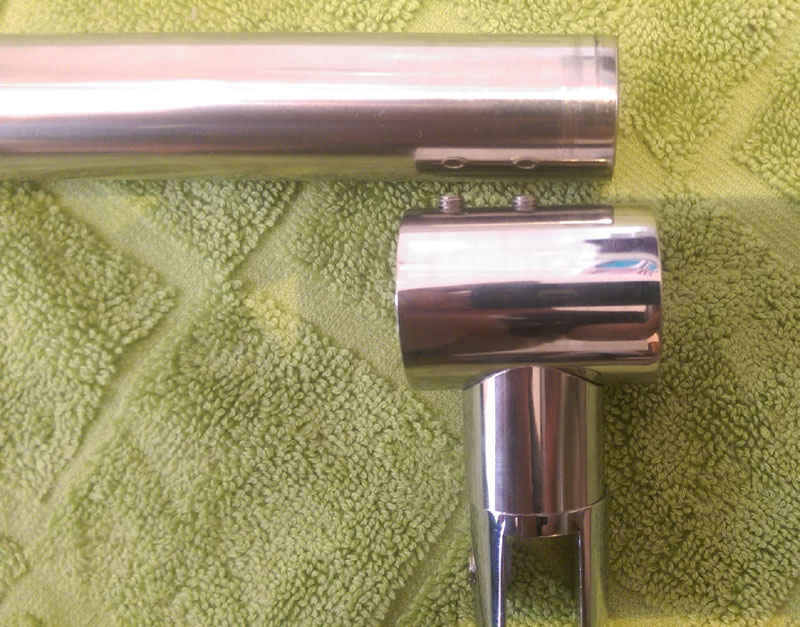
Unscrew the Allen screws in the head piece and wall piece using the Allen wrench provided until the pipe piece can be inserted loosely.
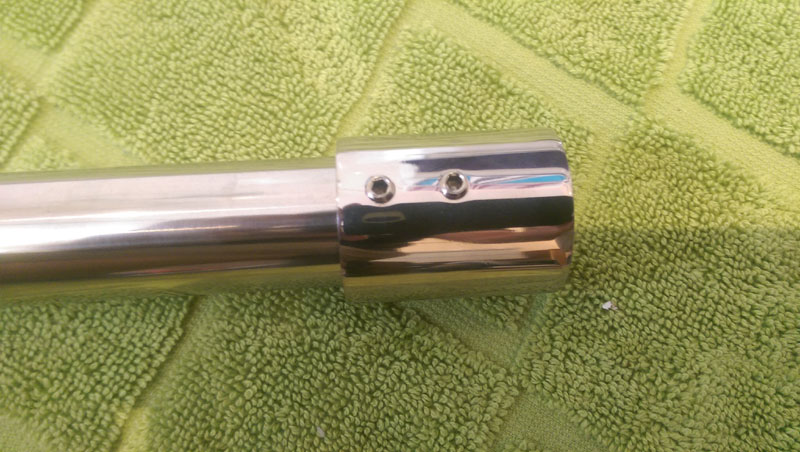
Insert the tube into both end pieces of the cross bar and tighten the two Allen screws so loosely that the tube cannot slip out.
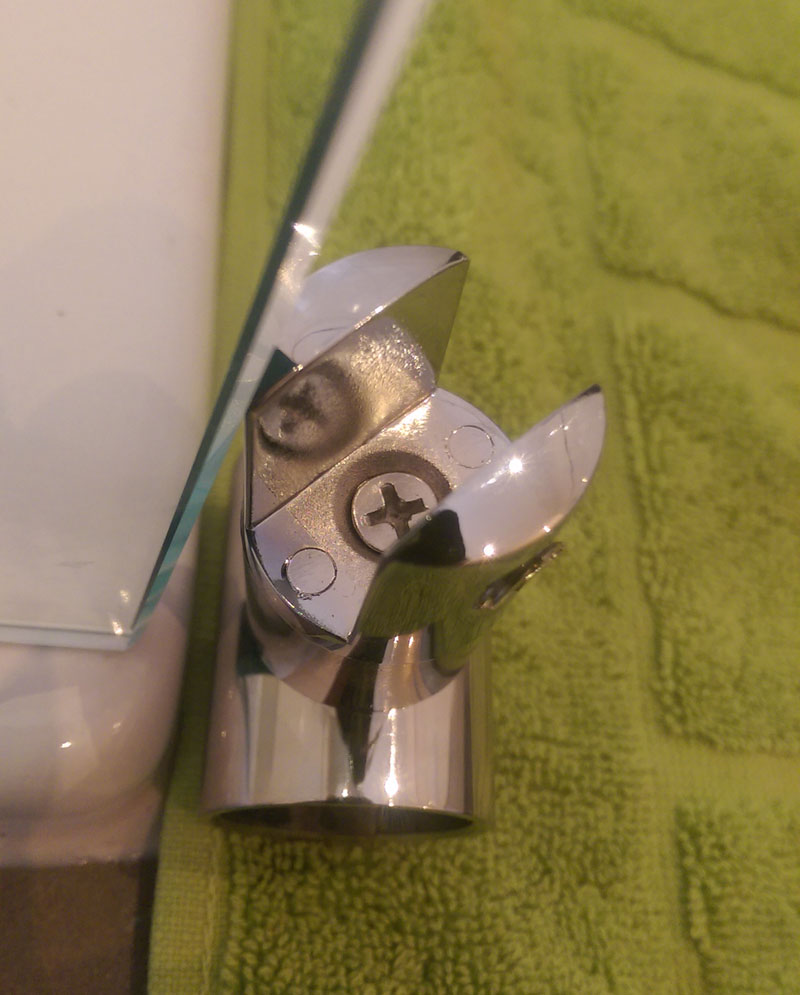
Tip: if the wall to which the traverse has to be screwed is not parallel to the shower wall, you can loosen this Phillips screw and align the traverse accordingly!
This is a decisive advantage of this shower wall compared to many other competitor products!
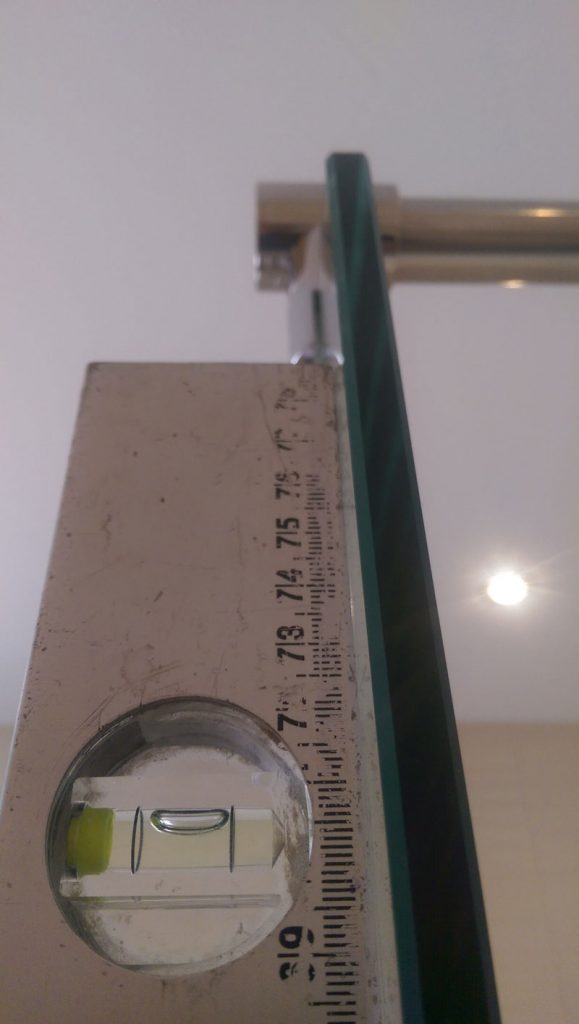
Now measure the necessary length of the traverse from the middle of the glass to the wall.
If necessary, align the shower wall with the spirit level at the upper corner.
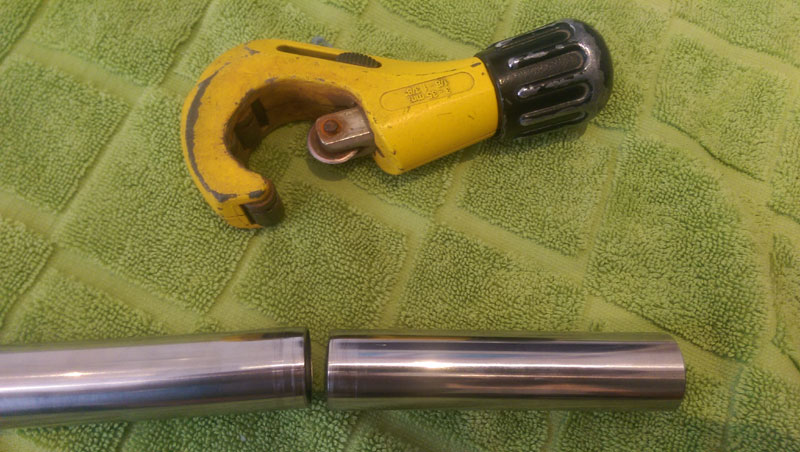
If the traverse is too long, please shorten it to the required length, e.g. with a pipe cutter or a metal saw. If necessary, deburr the edge with a metal file.
Step 3
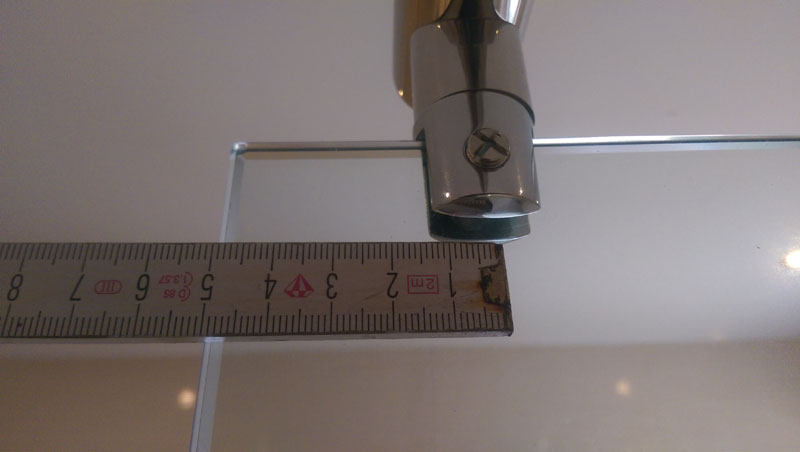
The head piece of the traverse is positioned approx. 5 cm away from the shower corner.
ATTENTION: Do not screw it on yet, just put it loosely onto the glass!
Now align the traverse with spirit level and folding rule and mark the position of the wall piece on the wall tile with two pencil strokes.
Remove the wall piece from the pipe, mark the drill hole and drill, finally screw on the wall piece.
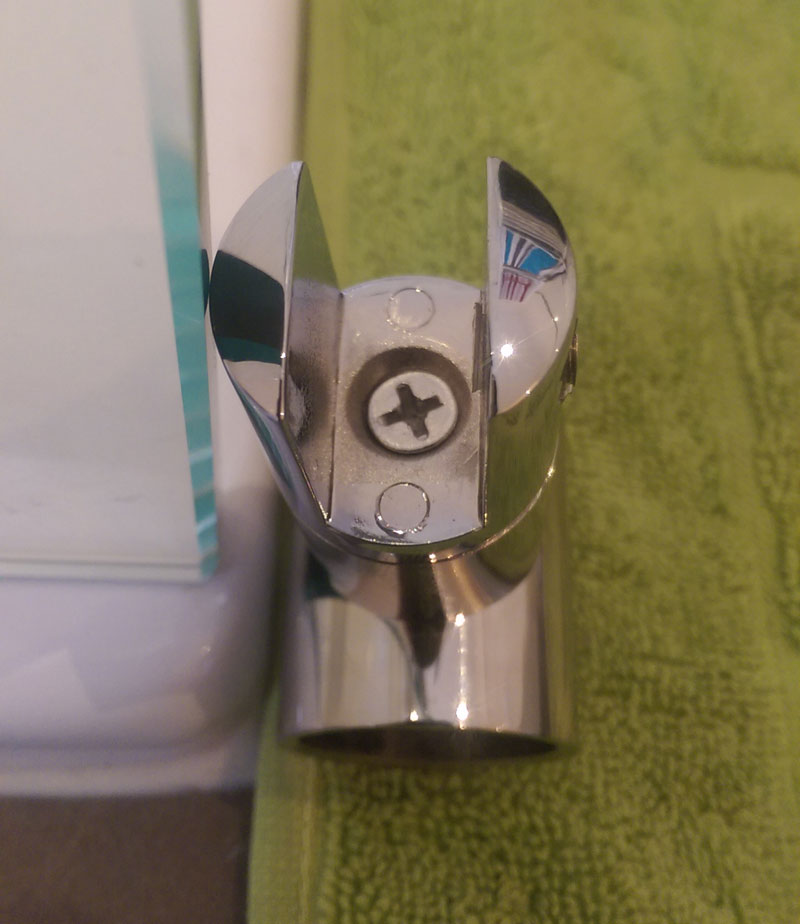
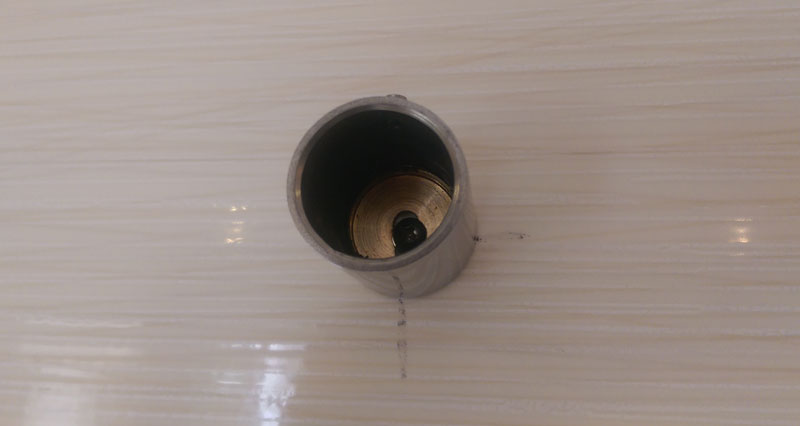
And now comes this inconspicuous plastic part!
Insert it into the U-shaped head piece so that it completely decouples the metal head piece from the glass when the head piece is attached to the glass pane. (And should it get lost, take an empty shampoo bottle and cut out a suitable piece of plastic with a cutter knife. It is important that the material is flexible and not too thick, because it must fit between the headpiece and the glass pane.)
Now you can fix the Phillips screw on the head piece by hand.
Now you can hand-tighten the Phillips screw on the head piece, the screw will no longer damage the glass.
Finally, hand-tighten the two Allen screws in the head piece and the wall piece.
Step 4
Seal the glass wall at the bottom of both (!) sides with silicone. In this case, the silicone not only seals the shower wall, but also fixes it at the bottom to prevent it from slipping!
Ready !
At the end probably a few parts remain.
But don’t worry about it, you haven’t done anything wrong! The accessory bags are arranged for different shower wall sizes, and depending upon shower wall then this or that part remains at the end. Please simply dispose of them in a waste bin or a yellow sack.